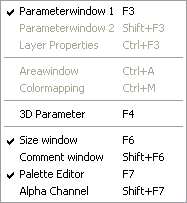
- Parameterwindow 1 (F3)
- Size window (F6)
- Palette Editor (F7)
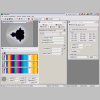
From the Size window, select your preferred size (I use 320 x 240) and the Scrollbars option. Perhaps arrange your windows as such:

Getting Started with ChaosPro (applies to version 3.10)
As I've admitted elsewhere on this site, I had the software for about a year without being able to generate anything decent (this was version 3.02). No sooner had I found a way round the problem (amidst much self-congratulation!) than I find there's a new version just out - 3.10, and it doesn't have the same problem. But I do LIKE the software, so I hope to encourage others, newbies as well as fellow fractalists, to give it a(nother) go.
Unlike some other freeware generators, ChaosPro has a very comprehensive Help; however, this doesn't seem to provide that essential bit of advice - an easy introduction. So here goes...
1. Launch the software and ensure that the following windows
(available from the 'Fractalwindows' menu item - see picture, right) are open:
From the Size window, select your preferred size (I use 320 x 240) and the Scrollbars option. Perhaps arrange your windows as such: |
 |

| 2. On the 'Formula' tab of Parameterwindow 1
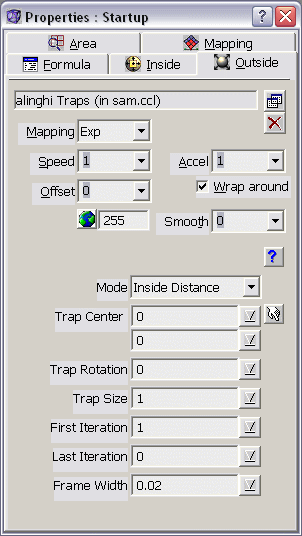
(this should bear the legend 'Properties: Startup' - see picture below),
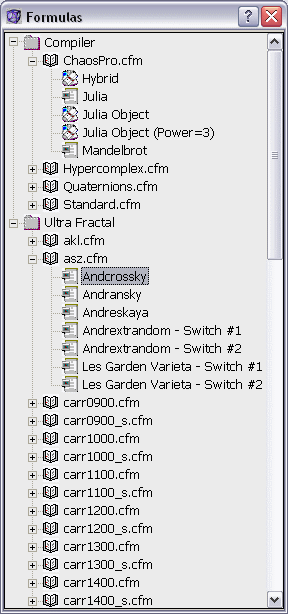
click the formula
selector 3. Once you have a fractal you like, double-click to zoom in on a region of interest, plus the fractal may be dragged about like a sheet of paper by holding down the left mouse button. 4. Once you have a structure you like, on the 'Outside'
tab of Parameterwindow 1, click the formula
selector |
 |
| 5. Many of the colouring formulae provide a
substantial extension to the dialogue tab - it's well worth having a play
about with these. For the standard dialogue elements at the top, I find the 'Exp' mapping particularly useful as it responds to both the 'Speed' and 'Accel' parameters, giving a high level of control of the rate of change of colour banding. 6. If your picture still has any large black areas, apply the above to the 'Inside' tab - this applies the same colouring formulae to the inside part of the fractal e.g. for the Mandelbrot set, to the set itself i.e. the black (or other colour) part that defines the set's shape. 7. Time
now to tweak the colours: on the 'Palette Editor' dialogue, click the
presets selector
Select one you like and play about with the palette editor's slider control, in conjunction with the Mapping/Speed/Accel parameters. Note that the chosen palette applies to the inside and outside colours unless the chosen formula has its own built-in palette. |
 |
8. And that's about it for starters. When you're happy with the picture, enlarge to 1.5 - 2.5x desired final size (e.g. I want 1024 x 768, so I enlarge to 1920 x 1440 using the Custom radio button on the Fractal Size dialogue. This may take some time, depending on the formulae you've used - be patient!
Then save the image (Shift-I), preferably as a bitmap, and convert to jpeg (with size reduction) with another application e.g. IrfanView has an excellent Batch Conversion program. And why do this? The size reduction irons out any graphical irregularities and provides a gentle natural anti-aliasing - I find that over-aggressive anti-aliasing produces an unpleasant blurriness that doesn't suit some fractals.